Visual Studio CodeでGitを使えるようにセットアップしたところ、ものすごい快適になりました。
ここでは、WindowsPCからLinux(Ubuntu)サーバーのリモートリポジトリに接続する方法をご紹介します。
Gitダウンロード
以下から使用しているOSのインストーラーをダウンロード

Gitインストール
※ これ以降Windows10を例に説明します
1. 〔NEXT〕をクリック

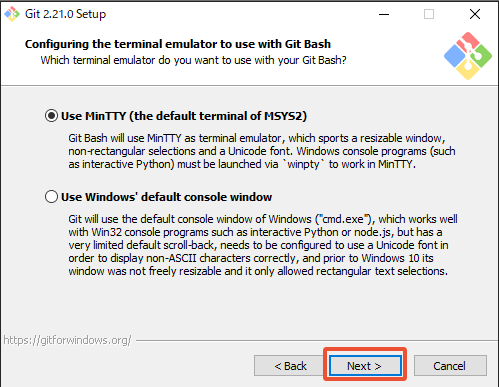
2. 〔NEXT〕をクリック
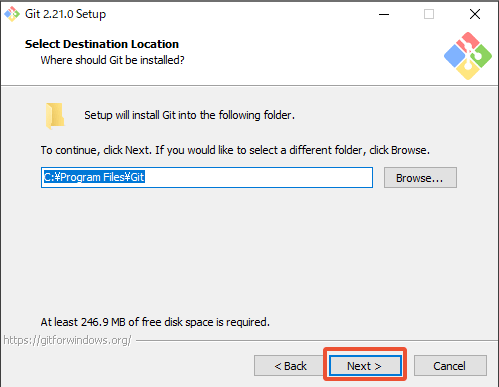
3. 〔NEXT〕をクリック
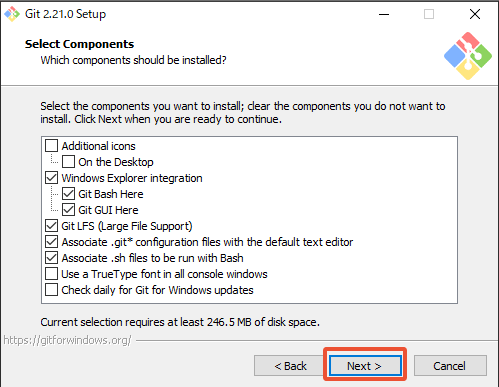
4. 〔NEXT〕をクリック
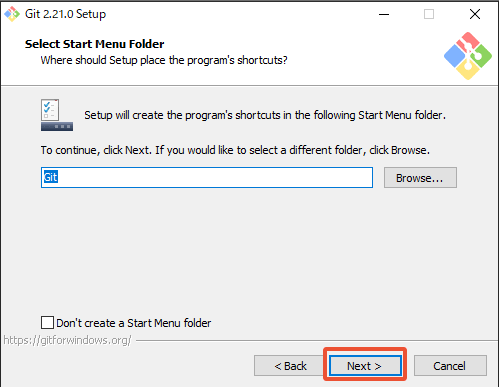
5. 〔NEXT〕をクリック

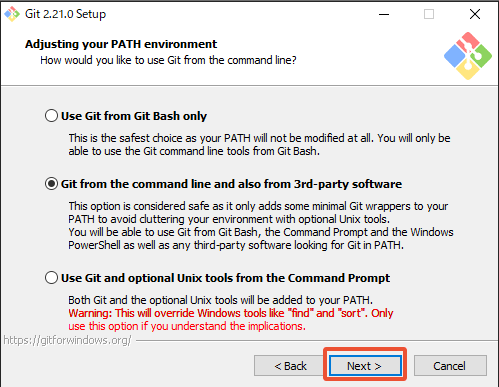
6. 〔NEXT〕をクリック
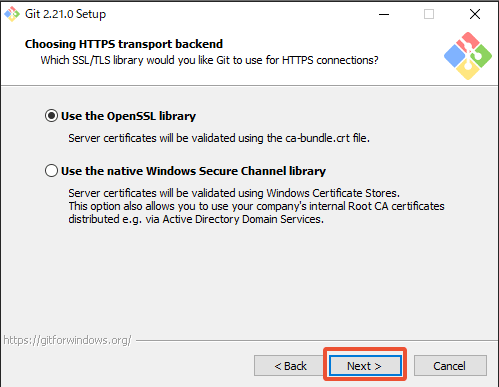
7. 〔NEXT〕をクリック
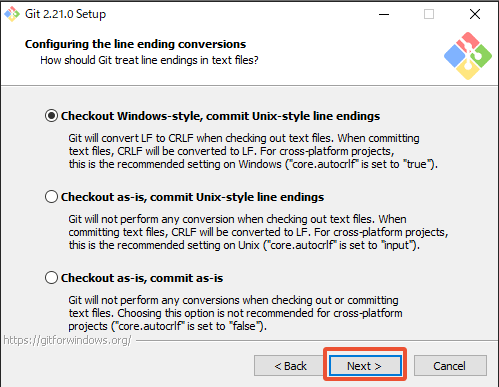
8. 〔NEXT〕をクリック
9. 〔NEXT〕をクリック
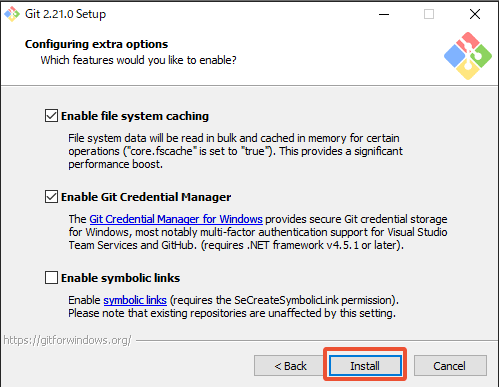
10. 〔Install〕をクリック
11. インストールが終わるまで待ちます
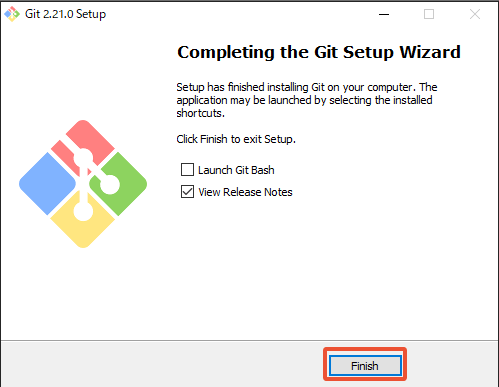
12. 〔Finish〕をクリック
SSH公開鍵登録
公開鍵と秘密鍵を作成
Windowsのコマンドプロンプトから公開鍵と秘密鍵を作成します。3行目のコマンド入力後は何も入力せず全てキーボードの〈Enter〉を押してください。
C:\Users\color-code>mkdir .ssh
C:\Users\color-code>cd .ssh
C:\Users\color-code\.ssh>ssh-keygen -t rsa
Generating public/private rsa key pair.
Enter file in which to save the key (C:\Users\color-code/.ssh/id_rsa):
Enter passphrase (empty for no passphrase):
Enter same passphrase again:
※ C:\Users\[ユーザー名]/.ssh フォルダが既にある場合は、1行目のコマンドを実行すると「サブディレクトリまたはファイル .ssh は既に存在します。」と表示されますが、気にせず2行目以降のコマンドを実行してください。
公開鍵をサーバーに登録
※ 以下の設定だった場合の説明をしますので、適時読み替えてください。
サーバーのIPアドレス:192.168.11.3
接続ユーザー:git-user
gitリポジトリ―パス:/var/lib/git/git-repository.git
ここからはサーバー側での作業になります。先ほど作成した公開鍵(id_rsa.pub)をサーバーにコピーしておいてください。
$ cd /home/git-user/.ssh/
/home/git-user/.ssh$ sudo nano authorized_keys
ファイルが開いたら、ファイルの最終行に公開鍵の中身を追加します。
:
ssh-rsa AAAAAAAA.....
保存して閉じればサーバー側の作業は完了です。
初期登録
ここからはクライアントPC側の作業です。VIsual Studio Codeのターミナルから、以下の通りユーザー名とメールアドレスを登録します。username箇所と、xxx@xxx.com箇所を正しい内容に書き換えて実行してください。
$ git config --global user.name "username"
$ git config --global user.email xxx@xxx.com
動作確認
WordPress開発ディレクトリに作成したリポジトリをCloneし、データを配置
Visual Studio CodeのUIからクローンすると、クローン先のパスに、リポジトリ名のフォルダが作成されてしまいます。
クローン先のパス直下にクローンしたい場合は、Visual Studio Codeのターミナルから以下コマンドでクローンすれば可能です。
git clone ssh://git-user@192.168.11.3/var/lib/git/git-repository.git Z:\\clone_dest※ “Z:\\clone_dest”箇所にクローン先パスを入力します。\はエスケープが必要なので\\で入力します。
リポジトリ名のフォルダができても良い場合は以下の操作でクローン出来ます。
〈Ctr〉+〈Shift〉+〈p〉を押し、① ”git”と入力し、② ”Git:Clone” を選択
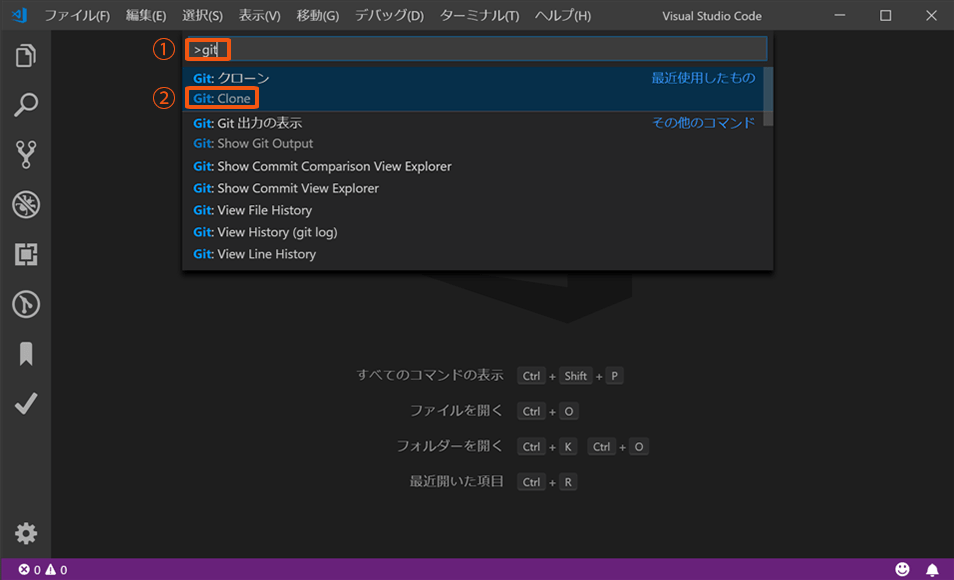
リポジトリのURLを入力して<Enter>。
ssh://git-user@192.168.11.3/var/lib/git/git-repository.git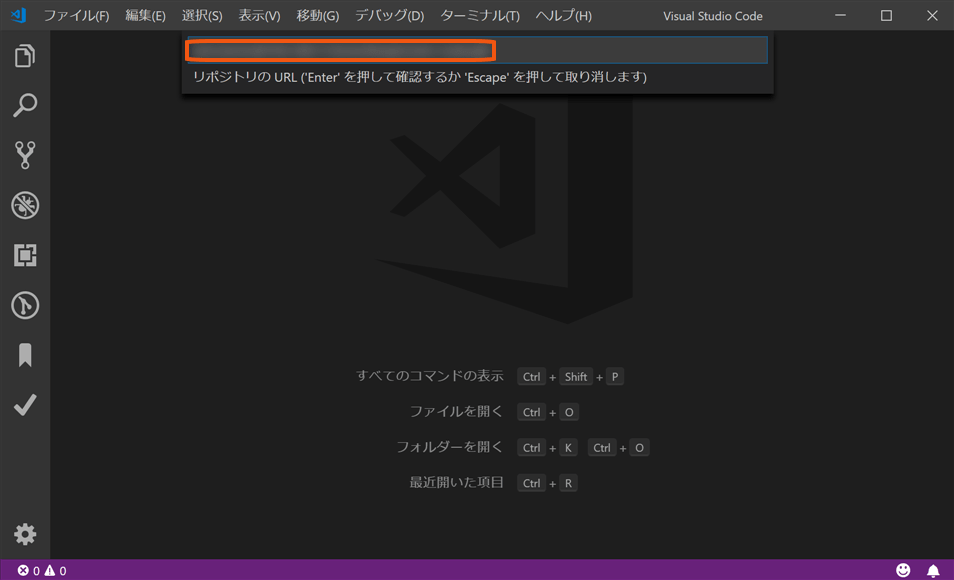
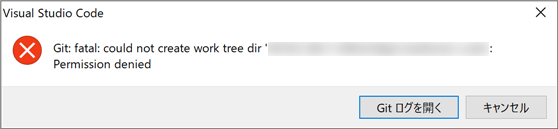
ダイアログが表示されるので、クローン先のパスを入力。
※ 以下エラーが出る場合は、Clone先の適切なパーミッション設定が必要です。
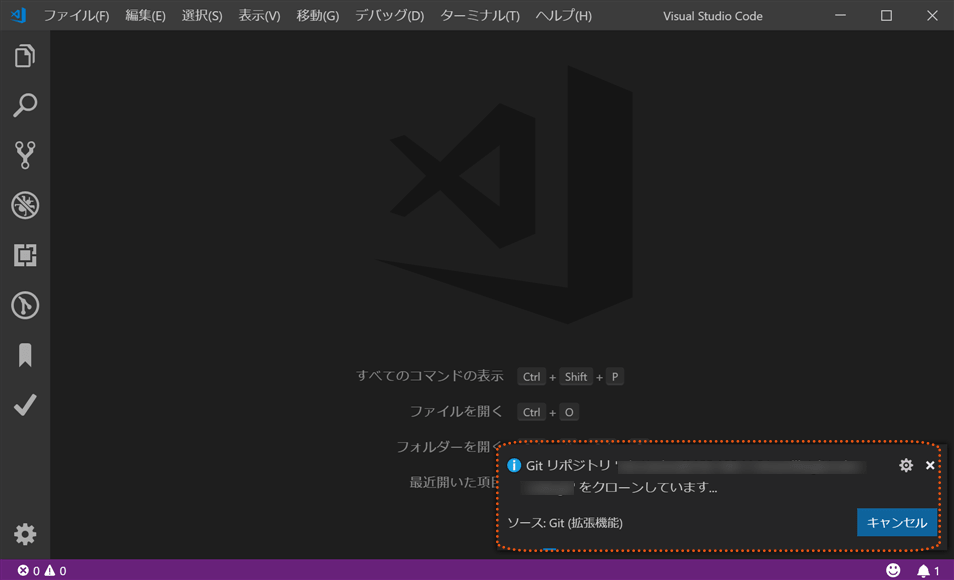
クローンが開始されれば成功です。
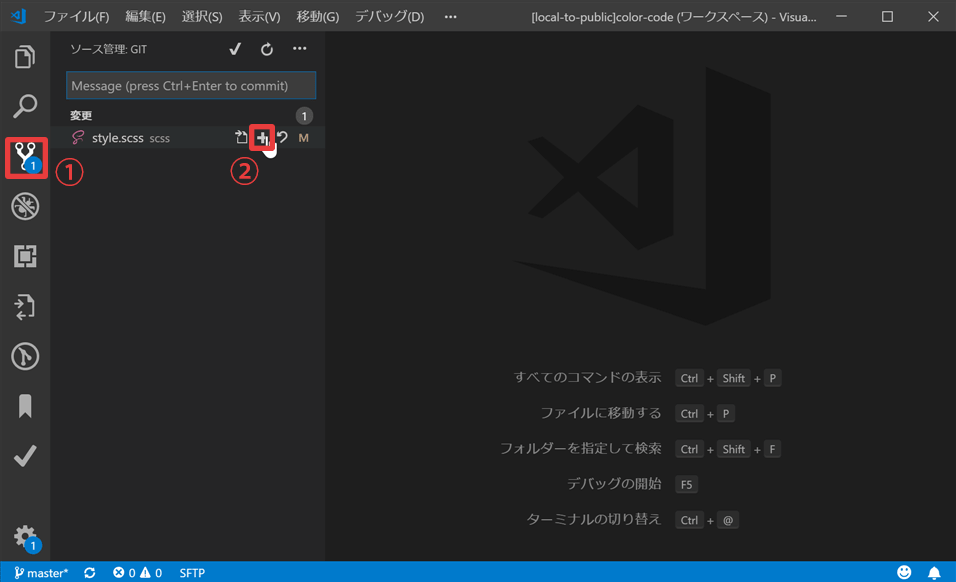
コミット
①の〔ソース管理〕をクリックし、②の〔+〕をクリックすると、〔ステージング済みの変更〕となり、コミット対象になります。
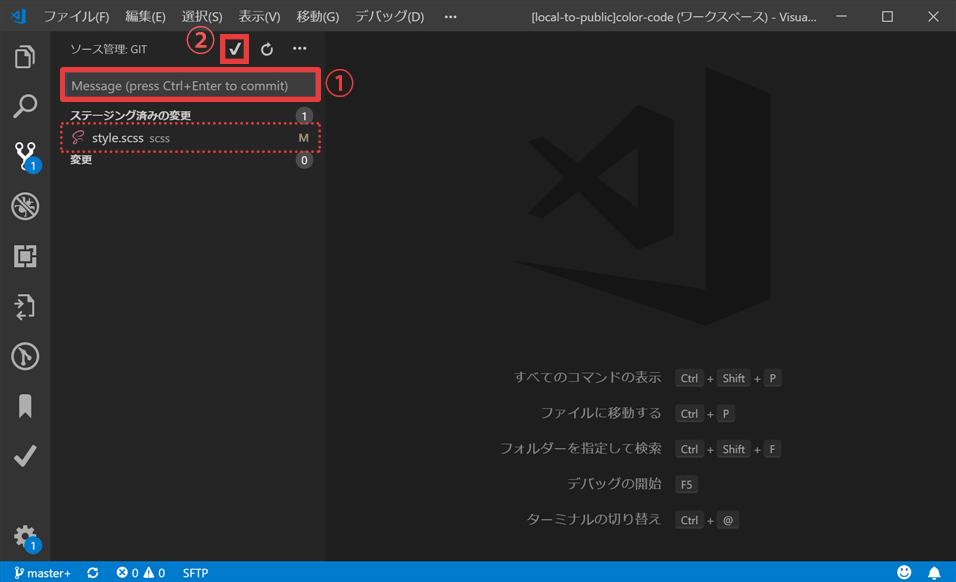
①にコメントを入力し、②をクリックすると、〔ステージング済みの変更〕がコミットされます。
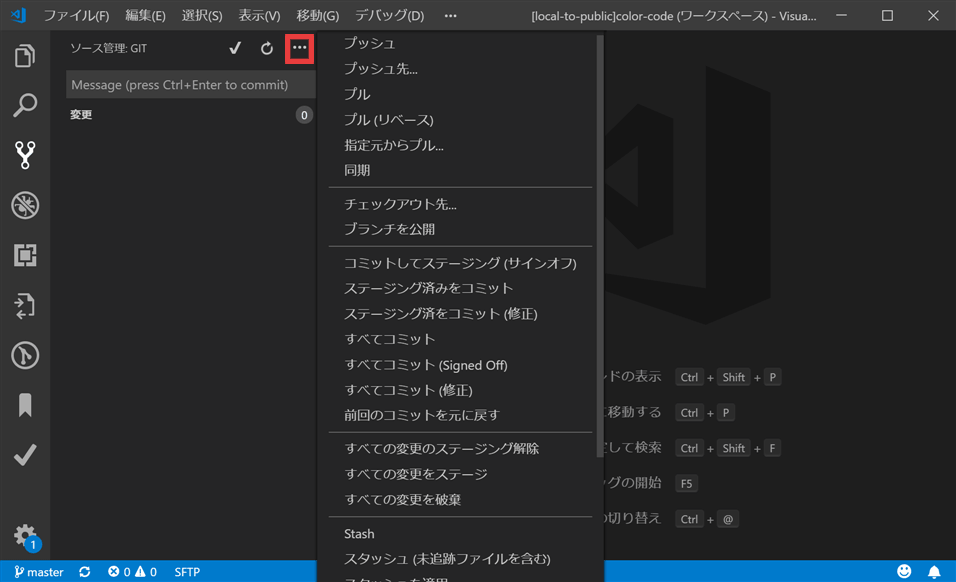
プッシュ
以下の赤枠をクリックするとメニューが表示されプッシュをはじめ様々な操作ができます。
まとめ
Visual Studio Code だけでGit操作が完結するというのはかなり便利です。
これまでTortoiseGitを使っていましたが、今では Visual Studio Code のGit機能しか使っていません。
Visual Studio Code を使っている方にはとてもおすすめです。